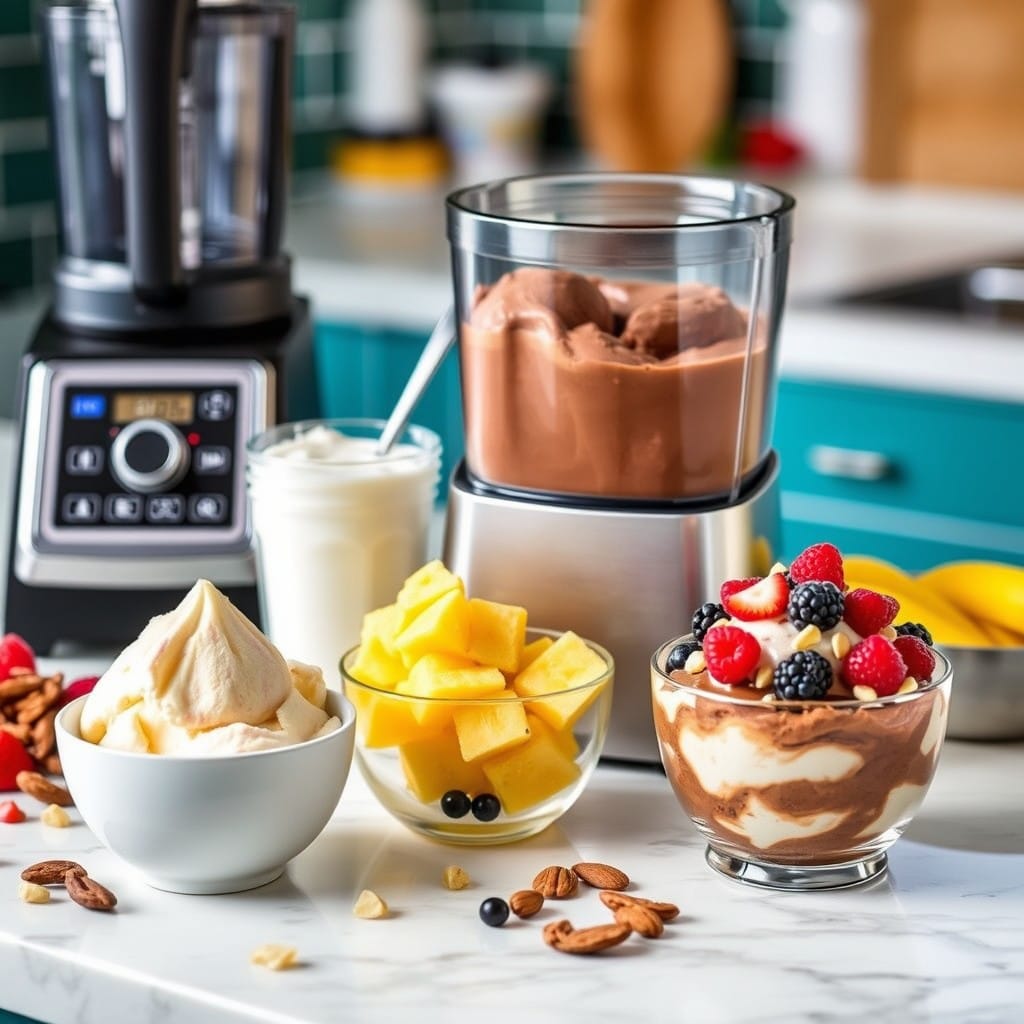
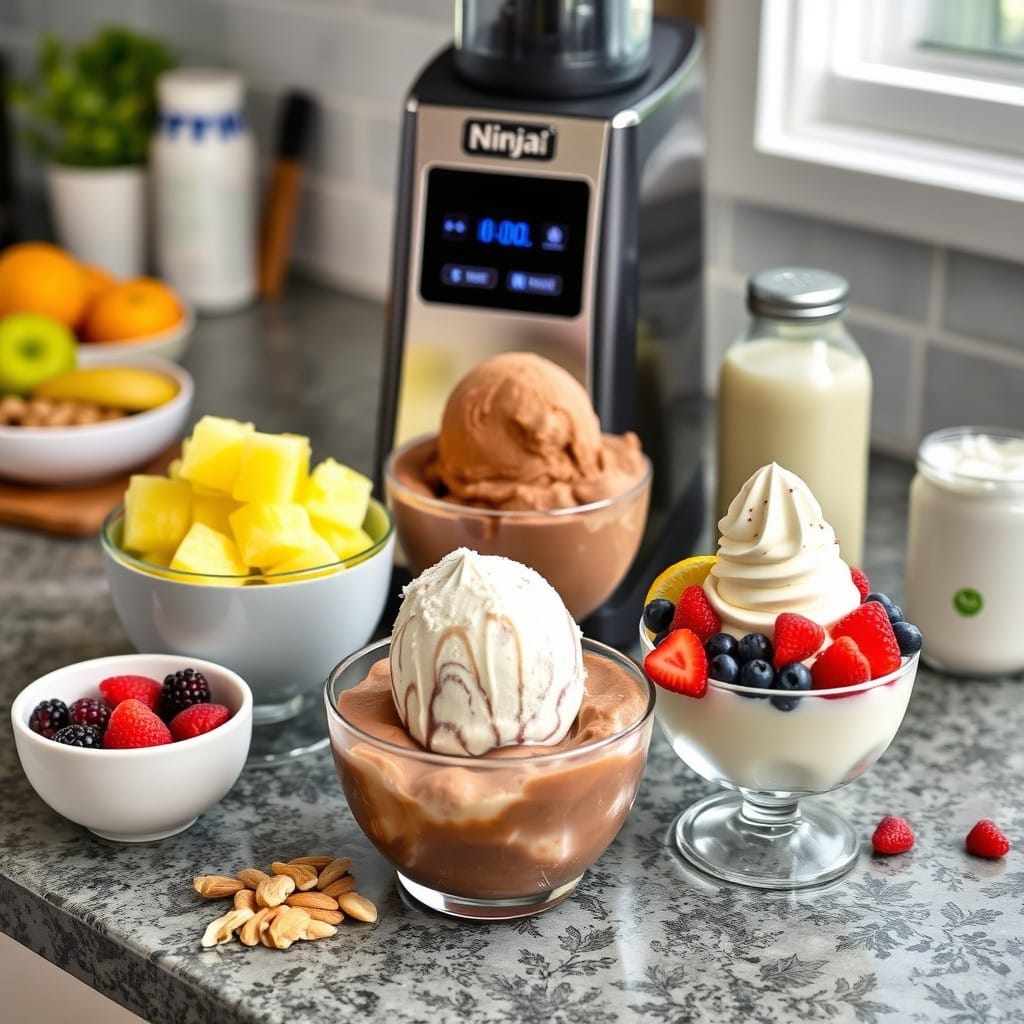
Have you ever dreamed of crafting your own ice cream with flavors tailored exactly to your taste? The Ninja Creami is here to make that dream a reality. As this innovative kitchen gadget grows in popularity, more and more people are discovering the joys of homemade frozen treats. With the Ninja Creami, you’re not limited to just ice cream – you can also create sorbets, gelatos, and even dairy-free desserts. Whether you’re a health-conscious eater or a lover of indulgent flavors, making ice cream at home offers endless possibilities.
Let’s dive into the world of Ninja Creami recipes and explore how you can create your own frozen masterpieces!
What Is the Ninja Creami?
The Ninja Creami is an advanced ice cream maker that has become a favorite among dessert enthusiasts. Unlike traditional ice cream machines, the Ninja Creami operates using a unique technology that can turn almost any mixture into a smooth, creamy dessert. This machine allows you to control the ingredients, flavor, and texture of your frozen treats, giving you complete creative freedom in the kitchen.
Its versatility is one of the key reasons behind its popularity. From dairy-based ice cream to plant-based sorbets, the Ninja Creami can handle it all.
How Does the Ninja Creami Work?

The Ninja Creami works by freezing the ingredients in a container, which is then processed by a spinning blade that shaves the frozen mixture into a creamy consistency. You simply pour your ingredients into the pint container, freeze it overnight, and the next day, the Ninja Creami transforms it into a delicious frozen treat with the push of a button.
The machine offers multiple settings such as “Ice Cream,” “Gelato,” “Sorbet,” and even “Smoothie Bowl,” each designed to create the perfect texture for different types of desserts.
Table of Contents
Benefits of Using the Ninja Creami for Homemade Ice Cream
Making ice cream at home with the Ninja Creami has several advantages:
- Healthier Options: You have complete control over the ingredients, allowing you to avoid artificial additives or preservatives.
- Customization: Whether you prefer extra chocolate chips, less sugar, or a dairy-free option, you can customize each batch according to your preferences.
- Cost-Effectiveness: Homemade ice cream is often cheaper in the long run, especially if you enjoy indulging in premium flavors frequently.
Essential Ingredients for Ninja Creami Recipes
To create delicious ice cream in the Ninja Creami, you need just a few basic ingredients. Here’s what you’ll want to have on hand:
- Cream or Milk: Full-fat dairy products like heavy cream and whole milk are common, but you can also use lighter options like skim milk, or plant-based milk like almond or coconut milk.
- Sweeteners: White sugar, honey, agave, or sugar alternatives like stevia can be used to sweeten your ice cream.
- Flavorings: Vanilla extract, cocoa powder, and fruit purees are just a few ways to flavor your creations.
- Mix-ins: Chocolate chips, nuts, fruit chunks, or cookie crumbles can be added for extra texture and flavor.
Basic Ninja Creami Ice Cream Recipe
Here’s a simple vanilla ice cream recipe to get you started:
Ingredients:
- 1 cup heavy cream
- 1 cup whole milk
- 1/2 cup sugar
- 1 tsp vanilla extract
Instructions:
- Combine all ingredients in the Ninja Creami pint container.
- Stir until the sugar is dissolved.
- Freeze the container for 24 hours.
- Insert the container into the machine and select the “Ice Cream” function.
- Serve immediately or freeze for a firmer texture.
Creative Flavor Ideas for Ninja Creami Ice Cream
The possibilities are endless when it comes to ice cream flavors! Here are a few creative ideas to inspire you:
- Chocolate Lovers’ Delight: Add cocoa powder and chocolate chips to your base for a rich chocolate ice cream.
- Tropical Paradise: Blend coconut milk, pineapple chunks, and a splash of lime juice for a tropical sorbet.
- Nutty Crunch: Mix peanut butter and crushed peanuts into your base for a creamy, crunchy treat.
Dairy-Free Ninja Creami Recipes
If you’re looking for a dairy-free option, the Ninja Creami has you covered. Simply swap dairy for plant-based alternatives:
- Almond Milk Ice Cream: Use almond milk and sweeten with maple syrup for a nutty, dairy-free dessert.
- Coconut Milk Sorbet: Blend coconut milk with mango or passionfruit for a tropical vegan sorbet.
Low-Calorie Ninja Creami Recipes
For those mindful of their calorie intake, it’s easy to create low-calorie versions of your favorite desserts:
- Use sugar substitutes like erythritol or stevia to cut down on calories.
- Opt for low-fat dairy or light coconut milk to make a healthier base without compromising on flavor.
Sorbet Recipes for the Ninja Creami
Sorbet is a great way to enjoy a refreshing, light dessert. Here’s an easy berry sorbet recipe:
Ingredients:
- 2 cups mixed berries (frozen or fresh)
- 1/2 cup water
- 1/4 cup sugar (or a sugar substitute)
Instructions:
- Blend the ingredients together and pour them into the Ninja Creami container.
- Freeze for 24 hours.
- Select the “Sorbet” setting on the machine, and in minutes, you’ll have a fruity, refreshing treat!
Gelato Recipes in the Ninja Creami
Gelato has a denser, creamier texture than ice cream, and the Ninja Creami can replicate that silky texture:
Ingredients:
- 1 cup whole milk
- 1 cup heavy cream
- 1/2 cup sugar
- 2 tbsp cornstarch
- 1 tsp vanilla extract
Instructions:
- Heat the milk, cream, and sugar in a saucepan.
- Stir in the cornstarch until the mixture thickens.
- Cool, freeze, and then process in the Ninja Creami.
Frozen Yogurt Recipes
If you love the tangy taste of frozen yogurt, here’s a recipe that’s simple and delicious:
Ingredients:
- 2 cups plain Greek yogurt
- 1/4 cup honey
- 1 tsp vanilla extract
Instructions:
- Mix all ingredients and freeze in the Ninja Creami pint container.
- Once frozen, use the “Ice Cream” setting to create your creamy frozen yogurt.
Tips for Perfecting Your Ninja Creami Creations
To achieve the perfect texture, keep these tips in mind:
- Pre-freeze your pint container for at least 24 hours.
- Don’t overfill the container, as ice cream expands as it freezes.
- If the texture is too icy, re-spin the mixture to achieve a creamier consistency.
How to Store Your Homemade Ice Cream
Proper storage is key to keeping your ice cream fresh and delicious:
- Store in airtight containers to prevent freezer burn.
- Label your containers with the date and flavor.
- Ice cream is best consumed within 1-2 weeks for optimal flavor and texture.
Conclusion
The Ninja Creami is a game-changer for anyone who loves frozen desserts. From classic ice creams to healthy, dairy-free options, the possibilities are endless. With the ability to control every ingredient, making your own ice cream at home has never been more fun or rewarding. Now that you know the basics, it’s time to get creative and start experimenting with your favorite flavors!
FAQs
- Can I use any type of milk in my Ninja Creami recipes? Yes! You can use dairy, almond, oat, coconut, or any other milk alternative depending on your dietary preferences.
- How long does homemade ice cream last in the freezer? Homemade ice cream lasts about 1-2 weeks when stored in an airtight container.
- Do I need to add stabilizers to my ice cream base? No, stabilizers aren’t necessary, but adding ingredients like cornstarch or gelatin can improve texture and prevent iciness.
- What’s the best way to clean my Ninja Creami machine? The machine’s parts are dishwasher safe, making cleanup easy.
- Can I make sugar-free recipes in the Ninja Creami? Absolutely! You can substitute sugar with sweeteners like stevia, erythritol, or monk fruit for sugar-free treats.

Ninja Creami Ice Cream Recipe
Ingredients
- 1 cup heavy cream
- 1 cup whole milk
- 1/2 cup sugar
- 1 tsp vanilla extract
Instructions
- Combine Ingredients: In the Ninja Creami pint container, mix heavy cream, milk, sugar, and vanilla extract. Stir until the sugar dissolves.
- Freeze: Place the container in the freezer for 24 hours.
- Process: Insert the container into the Ninja Creami machine and select the “Ice Cream” function.
- Serve or Store: Enjoy immediately or freeze again for a firmer texture.
Notes
- Use plant-based milk for a dairy-free version.
- Add mix-ins like chocolate chips or fruit chunks after the first spin for more texture.
- Re-spin if the ice cream is too icy for a smoother consistency.
- Store leftovers in an airtight container for up to 1-2 weeks.

