I love chocolate, and when you mix it with Nutella, it’s amazing. This article will take you on a tasty journey through chocolate candy mold recipes. You’ll love every bite.
These chocolate candy mold recipes filled with Nutella are perfect for anyone. They range from Nutella Chocolate Crunch Candy Bark to Nutella-filled molded chocolates. They’re sure to impress your friends and family.
So, get your ingredients ready and your molds prepared. We’re going to make homemade chocolate molds and Nutella-stuffed chocolates. You’ll create easy Nutella candy recipes that will delight everyone.
Table of Contents
Heavenly Nutella Chocolate Feuilletine Crunch
Try a homemade treat that mixes Nutella’s creamy richness with feuilletine’s crunch. This candy is a mix of dark chocolate, Nutella, and feuilletine’s crispy texture. It’s a treat that pleases the senses.
What is Feuilletine?
Feuilletine is a French treasure – thin, crispy flakes from baked crepes. These flakes add a nice crunch to chocolate treats. They perfectly match the smooth Nutella chocolate.
Making Nutella Chocolate Crunch Candy Bark
Making this homemade feuilletine and nutella chocolate crunch candy is easy. Melt dark chocolate, mix in Nutella, and add crispy feuilletine flakes. Pour it on a baking sheet and let it cool. You’ll get a chocolate crunch bark that’s great for gifts or personal treats. It’s a nutella chocolate crunch candy that’s heavenly.
“The mix of rich chocolate, creamy Nutella, and crunchy feuilletine is divine. It’s a treat that will impress anyone.”
Viral Kataifi Pistachio and Hazelnut Filled Chocolates
Try the exciting trend of kataifi filled chocolates. They mix crispy kataifi pastry with creamy Belgian chocolate. These pistachio hazelnut chocolates have a great texture and bold flavors.
Why Use Belgian Chocolate?
The secret to these chocolate mold fillings is Belgian chocolate. It’s known for its quality and melts well. This gives a smooth texture and rich taste that goes well with the kataifi pastry.
Preparing the Kataifi Filling
To make the kataifi filled chocolates, start by toasting the kataifi until it’s crispy. Then mix it with pistachio or hazelnut cream and tahini. This filling is then put into chocolate molds, making the treat’s center.
“The shredded kataifi pastry adds an incredible crunch that perfectly balances the velvety Belgian chocolate shell.”
With a few steps, you can make this viral treat at home. It will delight your taste buds and impress your guests with its mix of textures and flavors.
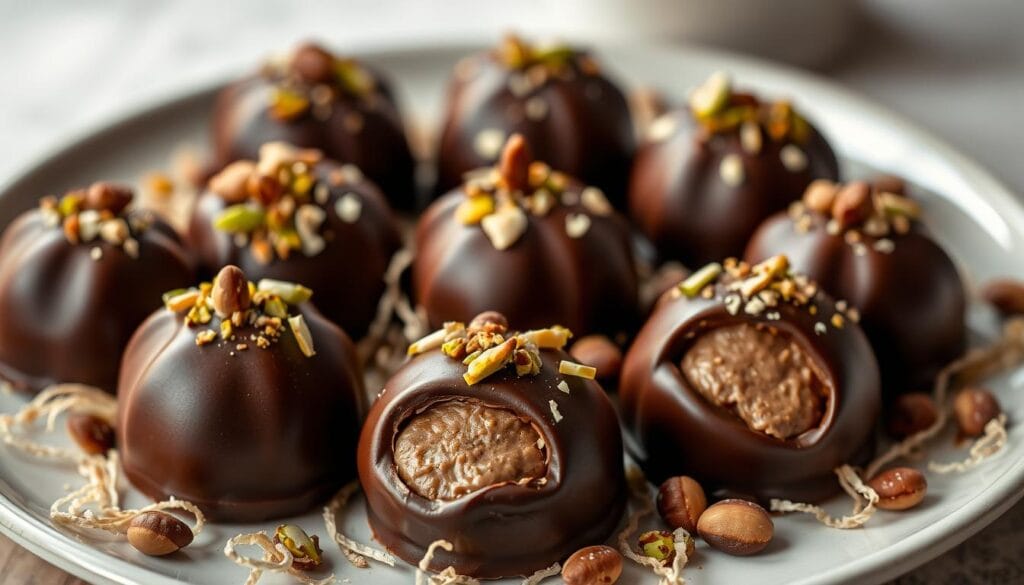
chocolate candy mold recipes filled with nutella
Make your homemade chocolate treats even better with Nutella. Discover how to fill chocolate molds with this tasty hazelnut spread. You can make everything from rich bars and truffles to fun shapes and small treats. These recipes will make your taste buds happy and impress your friends and family.
Getting the Nutella right in the chocolate molds is key. Learn to layer chocolate and Nutella for treats that look and taste amazing. You can make simple shapes or fancy designs. The chocolate shell and Nutella inside will be a hit with everyone.
Start making chocolate candy mold recipes filled with Nutella for a new level of fun. You can make simple bars or fancy shapes. Let your creativity shine and enjoy the mix of chocolate and Nutella in every bite.
“The perfect balance of rich chocolate and smooth, creamy Nutella is a match made in confectionary heaven.”
Let’s dive into the world of chocolate candy mold recipes filled with Nutella. Here, Nutella’s sweetness meets chocolate’s richness in a perfect mix that will excite your senses.
Choosing the Best Chocolate Molds
Creating delicious Nutella-filled chocolates starts with the right molds. Whether you’re a pro or just starting, picking the right molds is key. Let’s look at what to consider when choosing the best molds for your homemade Nutella chocolates.
First, think about the mold’s shape and size. Do you like classic shapes like hearts or squares, or do you want something unique? The size will also affect how big your chocolates are. You can choose small treats or bigger indulgences.
- Choose chocolate candy molds that are easy to use and clean. This ensures your chocolates look smooth and perfect.
- Go for homemade chocolate molds made from top-quality materials. Look for food-grade silicone or polycarbonate. These are durable and can be used many times.
- For diy nutella chocolates, pick molds with cool details or patterns. This adds a fun touch to your creations.
“The right mold can transform a simple chocolate into a work of art.”
The quality of your molds affects your chocolates’ texture and look. Spend on molds that are well-made and easy to use. This way, you’ll get a smooth, professional finish every time.
By picking the right molds, you’re on your way to making amazing Nutella chocolates. They’ll be delicious and look great, impressing everyone who tries them.
Layering Chocolate and Filling in Molds
Making molded nutella treats is all about the right way to layer chocolate molds. Start by melting chocolate for molding to get it smooth and pourable. You can melt it in a double boiler or microwave, stirring often to avoid burning.
After melting, pour a thin layer of chocolate into your molds. Tilt and rotate them to cover the sides well. Chill them in the fridge for about 10 minutes to set the chocolate a bit.
Melting Chocolate for Molding
Then, add a spoonful of Nutella or your favorite hazelnut spread into each mold. Make sure to leave room at the top for more chocolate. Pour more melted chocolate over the Nutella to seal the treats.
- Use high-quality chocolate for best results
- Temper the chocolate for a glossy, snap-worthy finish
- Experiment with different chocolate-to-filling ratios
Chill the filled molds for at least 30 minutes to set the chocolate fully. After chilling, carefully take out the Nutella treats from the molds. You’ll see the tasty layers.
“The key to perfectly molded chocolates is mastering the technique of layering the chocolate and filling. With a little practice, you’ll be crafting professional-looking treats in no time.”
Chilling and Setting Molded Chocolates
Making perfect Nutella-filled chocolates is a careful process. Chilling and setting the candies is a key step. To get your nutella candy ideas just right, watch the temperature and timing closely.
Start by putting your chocolate molds filled with Nutella in the fridge for at least 30 minutes. This chilling chocolate molds lets the chocolate harden and the Nutella set. This makes your candy firm and complete. You might need to chill them for up to an hour, depending on their size and design.
- Refrigerate the filled molds for 30-60 minutes to allow the chocolate and Nutella to fully set.
- Gently remove the hardened chocolates from the molds, taking care not to crack or damage the setting molded chocolates.
- If the chocolates still feel soft or tacky, return them to the fridge for an additional 10-15 minutes.
After taking the nutella candy ideas out of the molds, put them in an airtight container. Refrigerate them until you’re ready to serve. This keeps their shape and texture perfect. With patience and care, you’ll have a batch of homemade Nutella chocolates that are both beautiful and tasty!
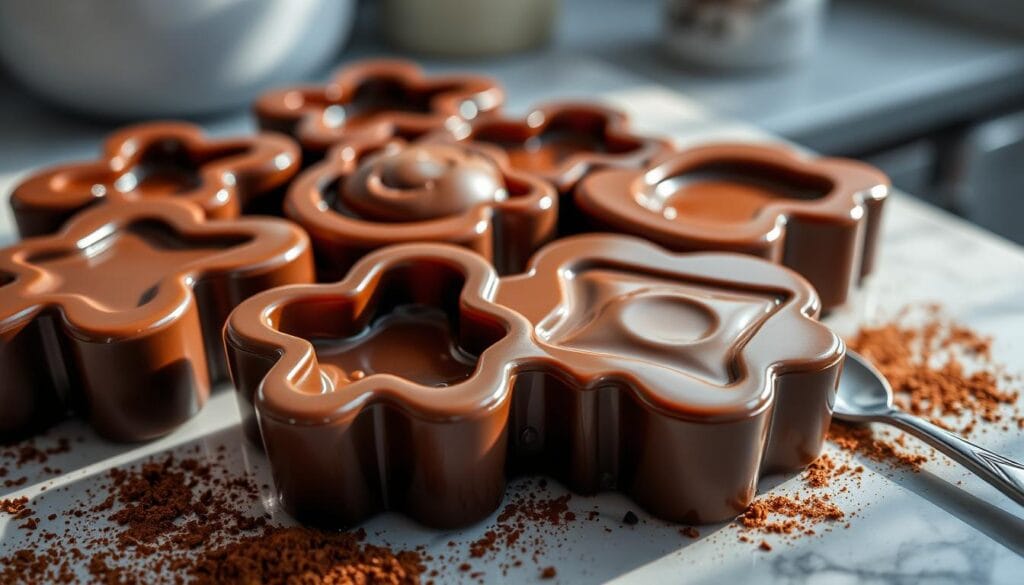
Serving and Presenting Nutella Filled Chocolates
Serving your homemade nutella filled chocolate candies is an art. A bit of creativity can make these treats the star of the show. Arrange them on a beautiful platter or plate. You can line them up neatly or group them for a rustic look.
Decorating with Toppings
Get creative with your nutella chocolates. A drizzle of melted chocolate adds elegance. Sprinkle chopped nuts or colorful sprinkles for texture and flavor. Use a piping bag for intricate designs.
Keep the chocolates chilled to avoid a mess. Use small tongs or toothpicks for easy handling. Share your decorating tips with guests. They’ll love your creativity and attention to detail.
Storing Homemade Nutella Chocolates
Keeping your homemade Nutella chocolates fresh is key to enjoying their taste. To keep your nutella candy ideas perfect, follow these storage tips:
- Temperature Control: Store your homemade nutella chocolates in a cool, dry place. Keep them away from sunlight or heat. The best temperature is between 65°F to 70°F (18°C to 21°C).
- Humidity Management: Keep humidity low to avoid soft, sticky chocolates. Use an air-tight container or a cool, dry pantry for storage.
- Packaging Matters: Wrap chocolates individually or in small batches. Use air-tight containers, resealable plastic bags, or airtight tins. This prevents odors and keeps them fresh.
- Shelf Life: Homemade nutella chocolates can last up to 2 weeks at room temperature. Refrigeration can extend their life to 3-4 weeks.
By using these simple storage tips, you can enjoy your homemade nutella chocolates for weeks. Enjoy the creamy Nutella and rich chocolate, even days later.
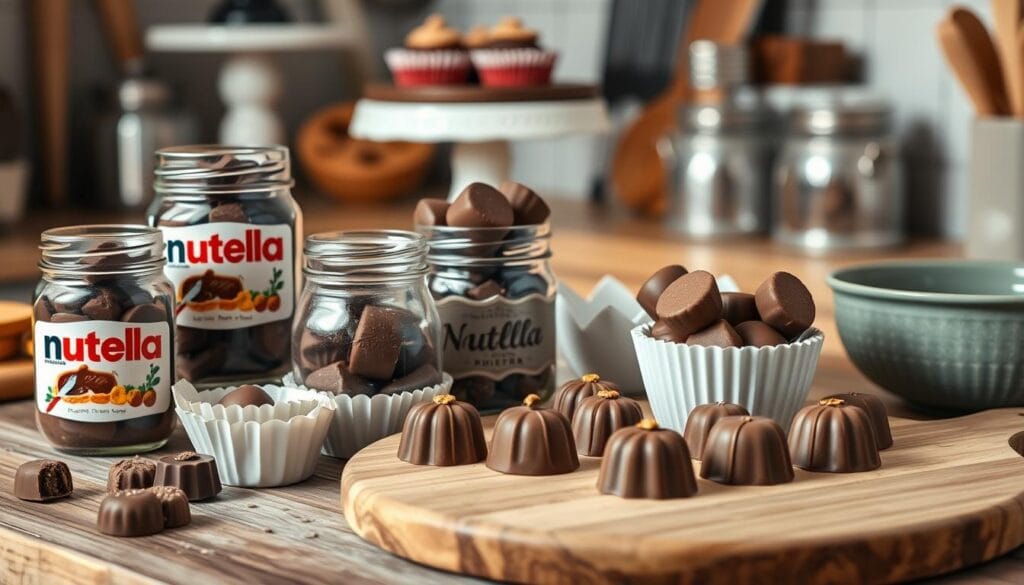
“The key to preserving the quality of homemade Nutella chocolates is controlling the temperature and humidity. Proper storage will ensure they remain fresh and delectable for your enjoyment.”
Flavor Variations and Substitutions
Explore a world of flavors by customizing your Nutella-filled chocolates. You can try new tastes or meet dietary needs. Swap Nutella for peanut butter or almond butter for a unique twist.
Nut Butter and Chocolate Swaps
Dark chocolate lovers can use 70% cacao for a deeper taste. Milk chocolate fans might mix milk and white chocolate for creaminess. Sun butter or tahini is great for those with nut allergies.
When swapping ingredients, think about texture and consistency. Adjust amounts to keep the chocolates smooth and not too dense. Let your creativity flow with nutella chocolate variations, nut butter substitutions, and chocolate substitutions.
FAQ
Q: What is feuilletine and how is it used in the Nutella chocolate crunch candy?
Q: What makes Belgian chocolate ideal for the kataifi-filled chocolate candies?
Q: What are the best types of chocolate molds to use for creating Nutella-filled candies?
Q: How do you properly layer chocolate and Nutella filling within the molds?
Q: How do you ensure the molded Nutella-filled chocolates set properly?
Q: How can you customize and experiment with the Nutella-filled chocolate recipes?
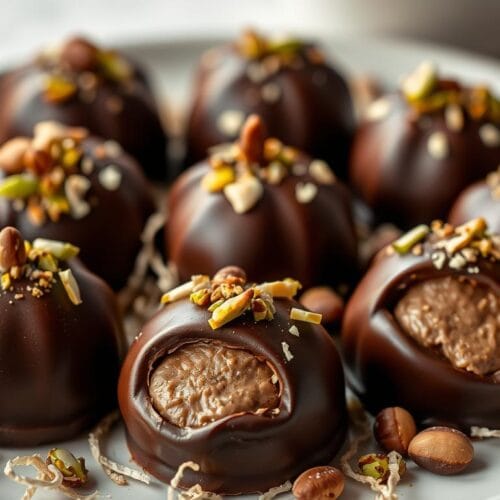
Chocolate Candy Mold Filled with Nutella
Ingredients
- 1 cup of semi-sweet chocolate chips or dark chocolate for a richer flavor
- 1/2 cup of Nutella
- 1 tablespoon of coconut oil optional, for a smoother chocolate
- Sea salt optional, for topping
Instructions
- Prepare the Molds: Choose your candy molds (silicone molds work best for easy release) and set them aside.
- Melt the Chocolate:
- In a microwave-safe bowl, combine the chocolate chips and coconut oil (if using).
- Microwave in 30-second intervals, stirring in between until completely melted and smooth.
- Coat the Molds:
- Using a spoon or a brush, coat the inside of the candy molds with melted chocolate, ensuring an even layer.
- Place the molds in the freezer for about 5-10 minutes until set.
- Fill with Nutella:
- Once the chocolate layer is set, spoon a small amount of Nutella into each mold, filling them about 3/4 full.
- Seal with Chocolate:
- Pour more melted chocolate over the Nutella filling, covering it completely.
- Tap the mold gently to remove any air bubbles and ensure a good seal.
- Chill:
- Place the molds back in the freezer for another 15-20 minutes until fully set.
- Remove from Molds:
- Carefully pop the chocolates out of the molds. If desired, sprinkle with a pinch of sea salt.
- Enjoy:
- Serve immediately or store in an airtight container in the refrigerator.
Notes
- Customization: Feel free to add other fillings like crushed nuts or caramel along with the Nutella for added flavor.
- Storage: These chocolates can be stored in the fridge for up to two weeks. They can also be frozen for longer storage.

