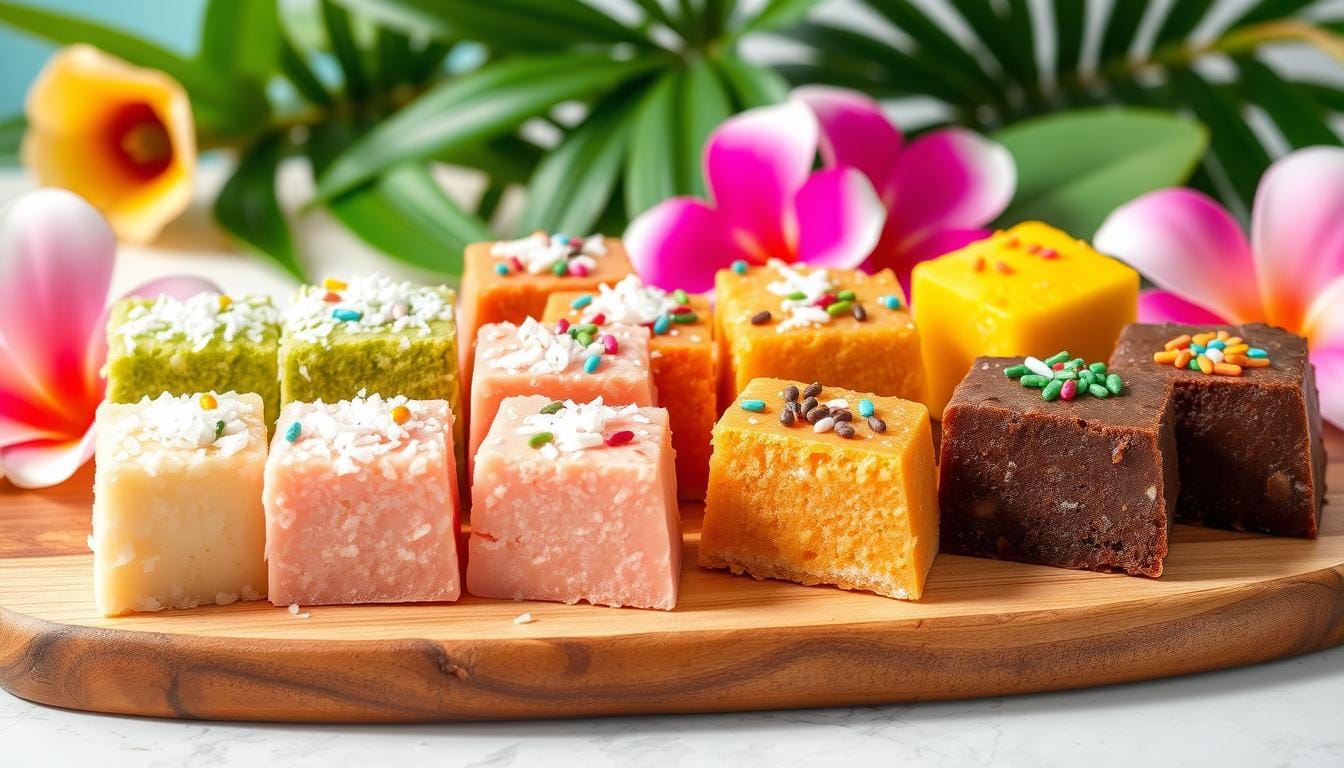
Butter Mochi Recipe
Butter mochi is a beloved Hawaiian dessert characterized by its chewy texture and rich coconut flavor. With just a few simple ingredients, you can create this comforting treat that evokes memories of family gatherings in Hawaii.
Ingredients
- 1 16-ounce box mochiko sweet rice flour
- 2 to 2.5 cups granulated sugar
- 4 large eggs beaten
- 1 stick ½ cup unsalted butter, melted
- 2 teaspoons vanilla extract
- 1 can 13.5 ounces unsweetened coconut milk
- 1 can 12 ounces evaporated milk
- 1 tablespoon baking powder
Notes
- Preheat the Oven: Preheat your oven to 350°F (175°C). Grease a 9x13-inch baking dish with butter or non-stick spray.
- Mix Wet Ingredients: In a large mixing bowl, combine the beaten eggs, melted butter, coconut milk, and vanilla extract. Mix well until combined.
- Combine Dry Ingredients: In another bowl, whisk together the mochiko flour, sugar, and baking powder.
- Combine Mixtures: Gradually add the dry ingredients to the wet ingredients, stirring until the batter is smooth and well combined.
- Bake: Pour the batter into the greased baking dish. Use a spatula to smooth the top. Bake in the preheated oven for 50-60 minutes, or until the top is golden brown and a toothpick inserted into the center comes out clean.
- Cool and Cut: Allow the butter mochi to cool completely in the pan before cutting it into squares.
Recipe Notes
- Texture: The texture will change over the first 24 hours, becoming softer and chewier.
- Storage: Store leftovers in an airtight container at room temperature for up to 3 days or in the refrigerator for up to 1 week.
Pro Tips for Perfect Butter Mochi
- Overmix the Batter: Don't hesitate to mix the batter well; mochiko flour doesn’t form gluten like regular flour, which helps achieve the desired chewy texture.
- Release Air Bubbles: After pouring the batter into the pan, gently tap it on the counter to remove any air bubbles.
- Watch the Bake Time: Baking times may vary based on your baking dish material. Metal pans may yield a chewier texture, while glass pans might need less time for a firmer finish.